


Tips & Tricks: Nymph-Fishing with Strike Indicators
Fishing with weighted nymphs can be highly effective and, above all, enjoyable. Trout, grayling, and other river fish species consume over 80% of their food underwater, with a significant portion in the form of nymphs. Therefore, it's worth exploring the various aspects of nymph fishing. In this segment, we focus on the "classic" method using floating strike indicators. This approach offers an easy entry point for those new to nymph fishing, as you only need one thing in addition to your standard gear: a suitable strike indicator. In this video, we provide you with some simple tips to help you start your next trip to river or stream successfully.
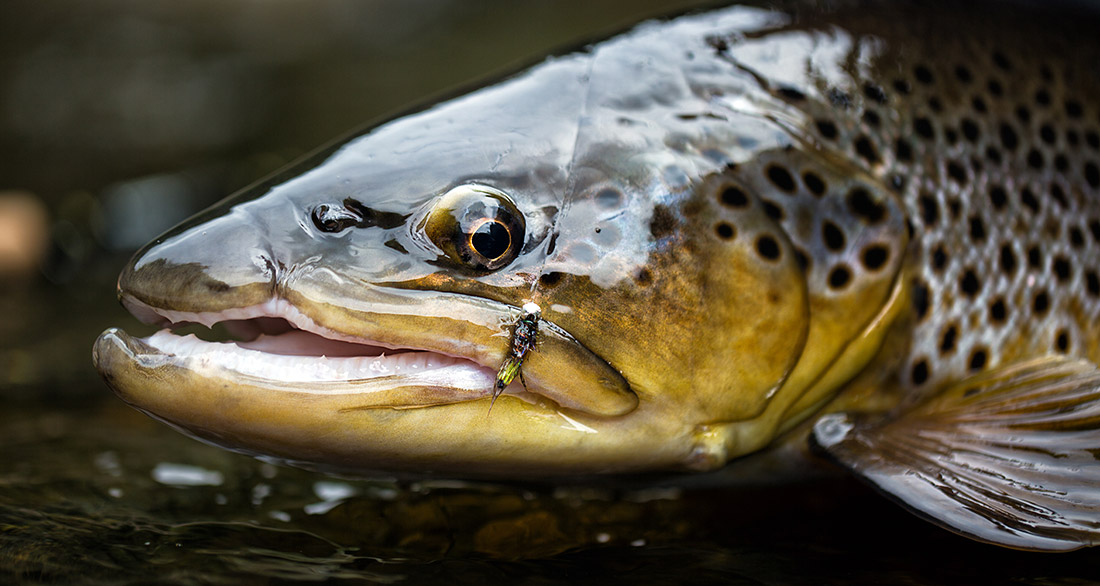
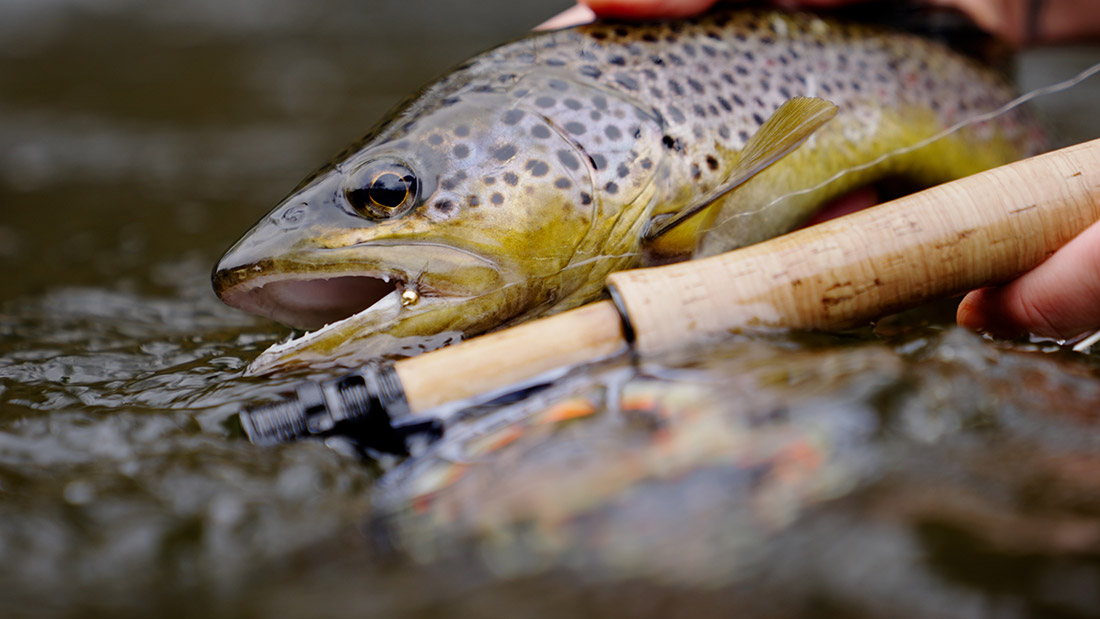
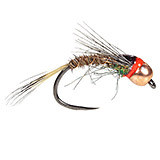
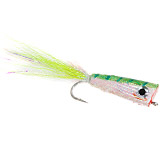
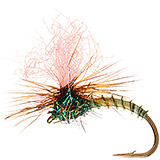
Nymph fishing is extremely effective and occasionally produces dream fish like this one.
There's no doubt: nymph fishing is highly effective and has become very popular in recent years for good reason. Different nymph techniques are naturally more or less effective depending on the type of water, water levels, and location. In this article, we want to delve into fishing with weighted nymphs using floating strike indicators. This classic method requires very little additional equipment besides your usual tackle. In fact, you only need a few successful nymph patterns and a suitable strike indicator to get started. It's a perfect way to enter the exciting world of nymph fishing.
These days, there's a wide array of different strike indicators available. Large, small, thick, thin, red, green, yellow, white, and more. Such a variety of options can be overwhelming, which is why we want to make the entry easier for you. So, let's start with the first question.
Which Strike Indicator should you Choose?
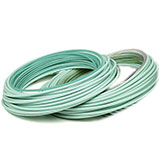
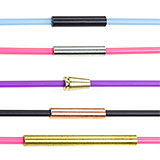
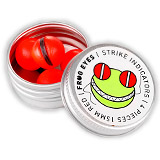
What all floating strike indicators have in common: you guessed it - they float! However, materials, shapes, and sizes vary. Depending on the current speed and weight of the nymph, you need a more or less buoyant indicator. A very heavy nymph won't be supported by fine poly yarn, while a light nymph loses its discretion with a massive float. So, choose a strike indicator as large as necessary but as discreet as possible! If you're fishing with lighter, smaller flies for very wary fish, opt for a smaller, more delicate indicator. On the other hand, if you're dealing with high water or turbulence in the water, and/or fishing with heavily weighted nymphs, you can definitely use a "chunkier" indicator that can carry the weight of the nymph even in rough water. That's why, for starters, a set of strike indicators in various sizes is highly recommended, so you'll have an adequate solution for most situations.
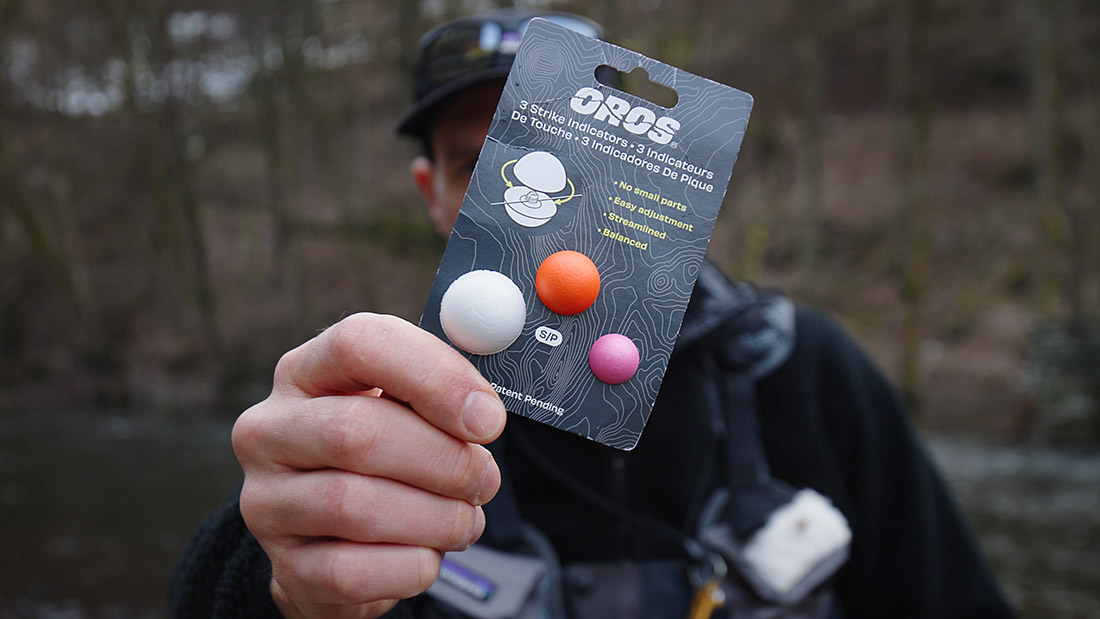
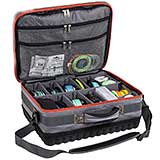
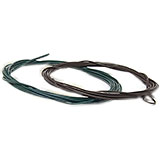
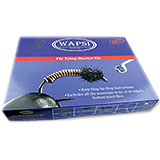
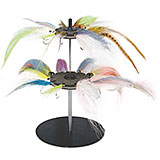
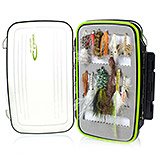
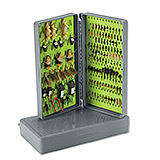
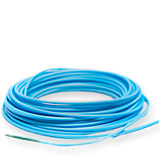
A set of strike indicators in various sizes is perfect for getting started.
Regardless of the technique you use to fish nymphs, there's one essential factor for success: the nymph must be presented at the right depth in the water column. Most fish stay near the bottom, where the majority of aquatic food drifts by, offering the fish less energy expenditure and a more secure location. And that's exactly where we want to present our nymph, which brings us to the next question...
How do you set the right Depth?
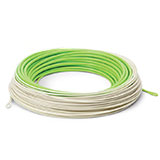
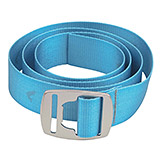
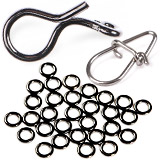
Depending on the current and water depth, you'll need to adjust the distance between the strike indicator and the nymph. It's clear that the nymph never drifts directly under the strike indicator but always trails behind at an angle, plus/minus 45 degrees. So, a general rule of thumb is that the distance from the strike indicator to the nymph should be about 1.5 times the water depth. The angle primarily depends on the current speed. Therefore, if you're fishing a pool from bottom to top, you may need to readjust the distance after a few casts as the water flows faster at the top. This is why we always recommend choosing a strike indicator that can easily be moved along the leader. Our top recommendation: Oros Strike Indicators with screw closure. And if you prefer something more delicate, definitely check out the New Zealand Strike Indicator made of poly yarn, which you can place softly on the water like a feather.
At the end of the day, it's all about experimentation! If you're getting snags, you're definitely fishing too deep, and you should shorten the distance.
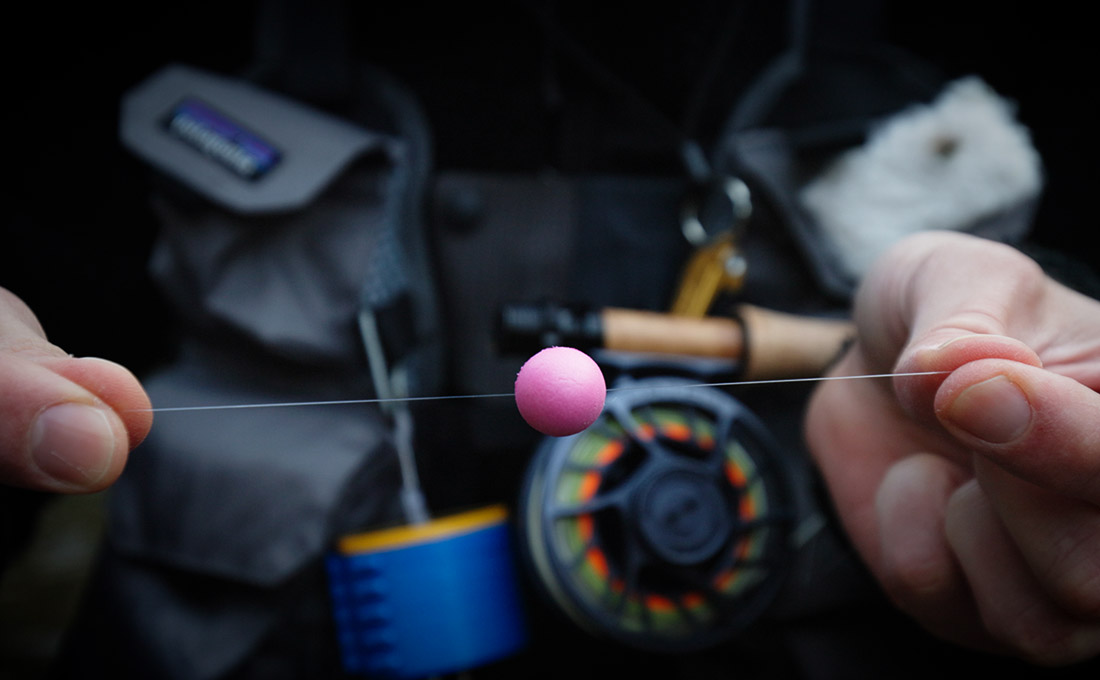
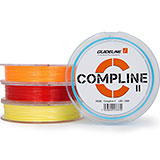
The Oros strike indicators can be easily adjusted on the leader, and thanks to the screw closure, you won't lose them while fishing.
But before you can adjust the right distance, you first need to assemble your leader. Fortunately, this is quite simple and one of the major advantages of fishing with floating strike indicators. You can use your regular tapered leader, which you also use for dry fly fishing. Just extend it with a blood knot or Pitzenbauer ring to match the appropriate leader strength, attach the strike indicator and nymph, and you're ready to go!
So, you're at the water, you've assembled your strike indicator, and set the correct depth? Great, now it's time to present the nymph naturally in the water. We want to ensure a natural, extended drift in the "fishy" hot zone, make sure our strike indicator responds immediately to a bite, and maintain control over our line for a quick set.
Here are our 5 tips for fishing with strike indicators:
1) Open-up Your Cast
Keep in mind, you're not just casting a weighted nymph, but also a (sometimes bulky) strike indicator. Your cast needs more time and space. So, open your loops in both directions (forward and backward) and allow enough time for everything to straighten.
2) Present Indicator and Nymph in Line
To ensure the strike indicator serves its purpose from the start, the nymph should land on the extended leader above (upstream) of the strike indicator. Ideally, the strike indicator lands first, the leader turns over, and then the nymph gently lands in line behind it.
3) Fish Upstream
We want to offer the nymph as naturally as possible, in a "Dead Drift." This only works if the strike indicator and fly drift at the same pace and in the same direction as the current. If the nymph or strike indicator start to "drag," a natural drift is no longer guaranteed. Presenting upstream gives us time and control.
4) Retrieve Line / Strip In
After casting the fly upstream, always make sure to retrieve the line that the current is carrying back to you (strip in), without dragging the strike indicator. You have the most control when pointing the rod tip toward the water. This way, you're always ready for a quick, effective set.
5) Offer Nymph and Indicator in the Same Current
This goes a bit deeper into the matter, but it becomes especially important when you want to present your nymph precisely at or next to current edges. Right where promising fish lies often are. It's crucial that both the fly and strike indicator are drifting at the same speed of the current. It's pointless if the strike indicator lands in slow water while the nymph is pulled away by fast current or vice versa. For our indicator to effectively signal bites, it must always drift in line in front of the fly.
More Questions? No problem, we're here to help. Feel free to send us your questions and suggestions via Email or on our social media channels (Facebook, Instagram, YouTube).